I have now completed the first chapter of my course and from this I....
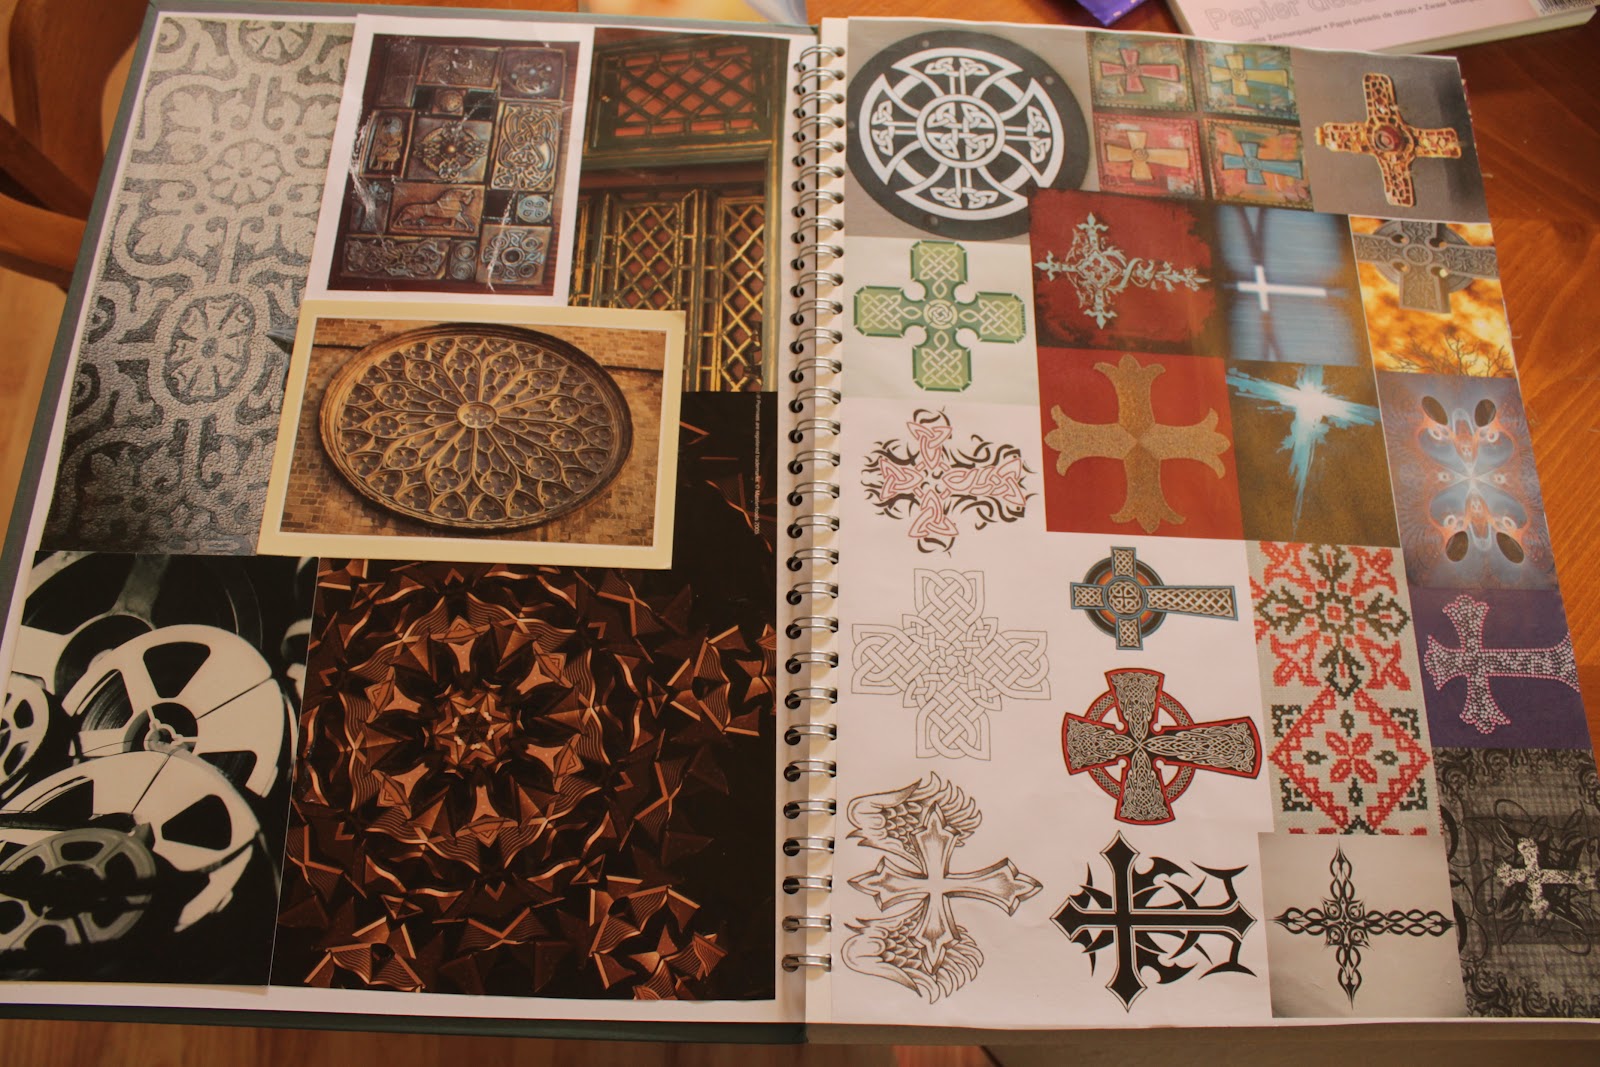
- Created my own 'Mood boards' finding images from the internet and magazines
- Took many photos of all the 'crosses' and 'star's I could find around the home
- Produced line drawings based on this research I had gathered plus other examples I found in various books
- Produced a few rubbings of star and cross patterns from items found around the home
- Produced a colour wheel to help me focus my colour story
Below are some selected images that 'summarise' the above work I have produced:
The above image shows an A3 page of my sketches and rubbings.
The above research image inspires me for the orange and green colours within the star shape.
This star was found on the inside edge of a door frame and is about the size of a screw head.
The above research image inspires me for the shape of the star.
It was a photo taken of the surface of a large glass crystal.


 Last year I entered a design and make a pennant for the Olympics competition through my WI. I was chuffed when my pennant was selected to represent my WI (Radstock) and was placed on display in the WI tent at the Newbury show. Alas I didnt win overall, however my pennant was one of the ones photographed and published in the WI Life national magazine. Ironically it was presented at a size on the page significantly bigger than the winning entries! My pennant will now be presented to one of the atheletes in London 2012 Olympics (or Para-Olympics) as a keepsake from the event. I am secretly hoping it will go to a badminton player as that was the theme I based my design on- a choice made due in part to the fact my husband plays/coaches/watches badminton avidly and in part due to the fact we have tickets to a couple of the badminton events this summer!
 To create the pennant I first hand dyed a piece of white satin fabric in vibrant colours with the bright reds/oranges and yellows to represent the Olympic torch. I then free machine embroidered in random scribbles all over, taking care to match the colours of the threads with the background. Finally I then layered the design up with wadding on the reverse then satin stitched/quilted the badminton player design onto the background. This design was very tenuously based around a clip art image of a badminton player that I switched up and adapted to make it my own.
.jpg)
 Once again with hind sight I really should have used some stabiliser as the backgrounds creased and puckered somewhat...


